



Blog
Network Cabinet Buying Guide: How to Choose the Right One

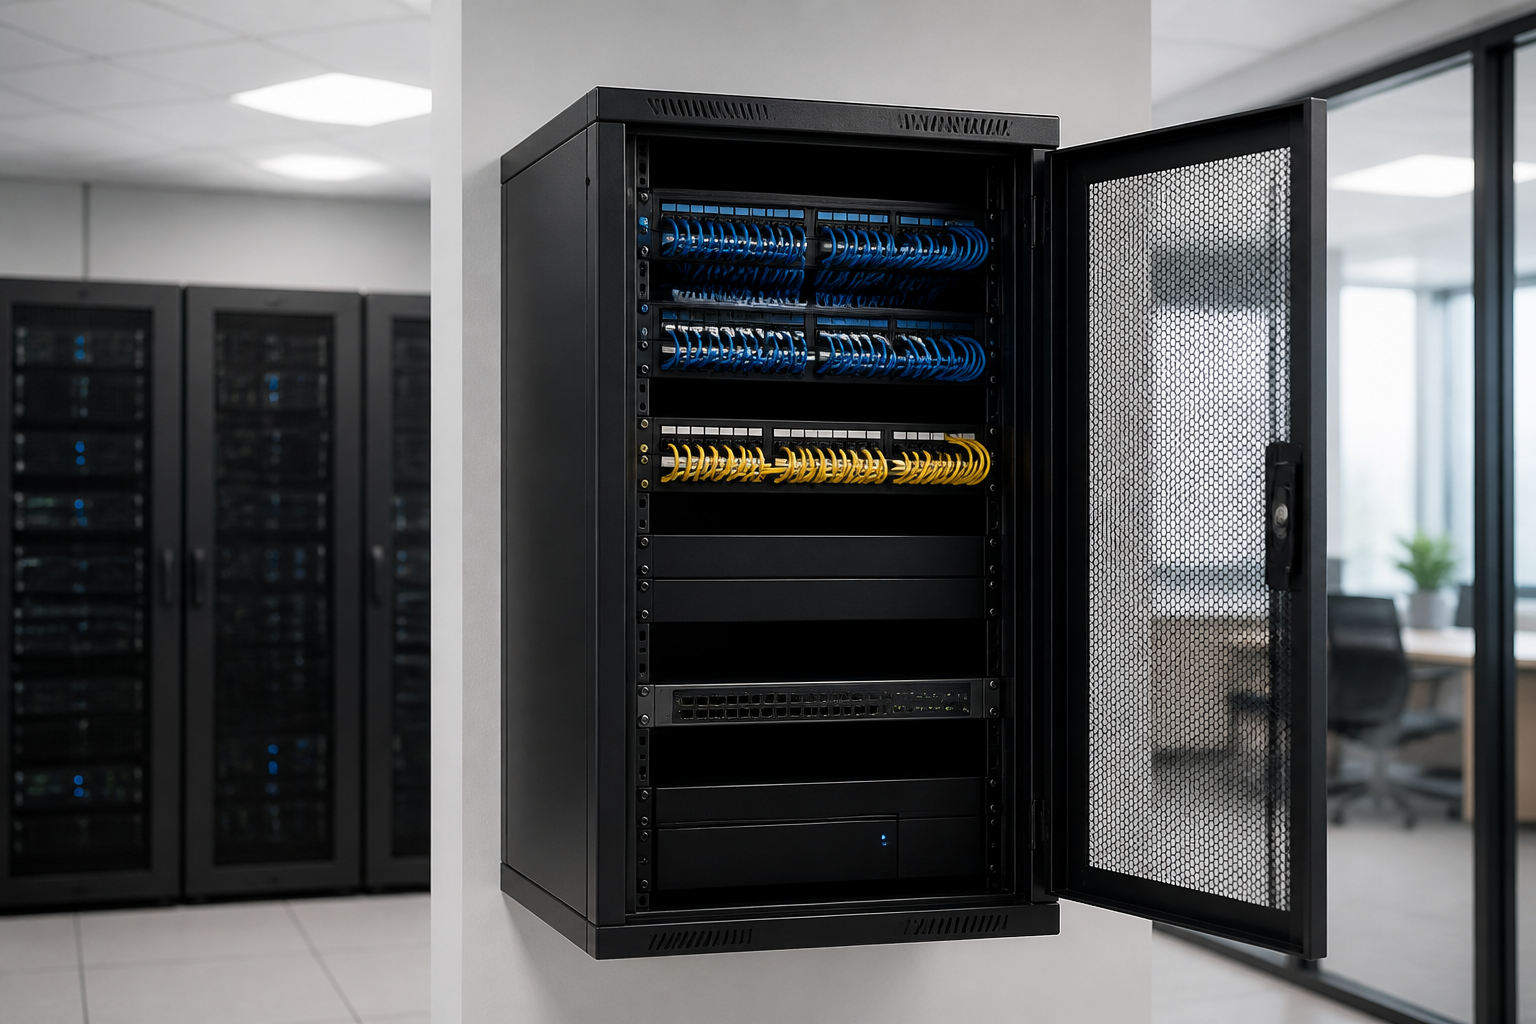
Choosing a network cabinet is an important part of building an organised, secure and maintainable IT environment. The right cabinet should accommodate your switches, patch panels, power equipment and other rack-mounted devices while leaving enough room for ventilation, cabling and future changes. This network cabinet buying guide explains the main selection criteria so you can compare options with greater confidence.
Start with the equipment you need to install
The best cabinet is determined by the equipment it must hold, not simply by the amount of available floor or wall space. Begin by listing every current rack-mounted device, including network switches, patch panels, routers, firewalls, fibre equipment, cable management accessories and power distribution equipment.
Check whether each item is designed for a standard 19-inch rack installation. Some equipment may be desktop-style, while other devices may require shelves, mounting brackets or additional support. Identifying these requirements before purchasing helps prevent compatibility problems during installation.
It is also useful to consider how the equipment will be connected. A cabinet with several patch panels and switches may need more practical cable space than a cabinet containing only a small number of devices. Allow room for cable bends, labelling and access to ports rather than planning around the equipment dimensions alone.
Choose the correct cabinet size
Rack height
Rack height is normally expressed in rack units, or U. One rack unit represents a standard vertical mounting space. Add together the rack units required by your equipment, then include space for patch panels, cable managers, power equipment and any shelves or blanking accessories you may use.
Do not select a cabinet that is exactly the same height as your initial equipment list. A small amount of spare capacity makes it easier to add devices or reorganise the installation later. However, the cabinet should still be proportionate to the project. An unnecessarily large enclosure can use valuable space and make cable routing less convenient.
Width and depth
Many rack systems are built around a standard 19-inch mounting width, but the external width of the cabinet can vary depending on its construction and cable-routing space. Confirm that the cabinet can physically fit in the intended room, doorway, corridor or equipment area.
Depth is equally important. Measure the deepest equipment, then allow additional space for rear connectors, power leads, airflow and cable bend radius. Equipment that fits on the mounting rails may still be difficult to install or maintain if cables are pressed against the rear door. If you are unsure about future equipment dimensions, choosing a cabinet with useful additional depth can provide greater flexibility.
Decide between a wall-mounted and floor-standing design
A wall-mounted cabinet can suit smaller network installations, branch offices, communications rooms and locations where floor space is limited. Before choosing this format, check the weight of the equipment, the wall construction and the space required to open the cabinet and work on the devices. The mounting location should also allow practical cable entry and service access.
A floor-standing cabinet is generally more suitable when the installation includes multiple switches, extensive patching, larger power equipment or equipment that needs greater depth. It can also make expansion and cable management easier when the rack contains many connections. Consider the cabinet’s final position, access routes and the working space needed in front of and behind it.
For a broader comparison of planning factors, see RADA Networks’ guide to choosing the right server cabinet. The same basic questions about equipment, space and future requirements are relevant when selecting a network enclosure.
Plan airflow and the operating environment
Network equipment produces heat during operation, so airflow should be considered before installation. Review the airflow direction of your devices and choose a cabinet layout that does not obstruct their intake or exhaust areas. Avoid packing equipment so tightly that it becomes difficult for air to move through the enclosure.
Look for practical ventilation features appropriate to your installation, such as ventilated doors or provisions for additional cooling equipment where required. The room itself also matters. A cabinet placed in a clean, dry and adequately ventilated environment will be easier to operate and maintain than one located in a cramped or unsuitable area.
Leave enough space around the cabinet for inspection, cleaning and servicing. If the installation may change over time, avoid positioning it where future access will be blocked by furniture, stored materials or other building systems.
Evaluate cable management before you buy
Good cable management is not only about appearance. It helps technicians identify connections, reduces strain on ports and makes troubleshooting or replacement more straightforward. A network cabinet should provide a sensible route for copper and fibre cables, power leads and connections leaving the enclosure.
- Vertical cable space: Useful for routing cables along the sides of the cabinet without obstructing equipment.
- Horizontal cable management: Helps organise patch leads between patch panels and switches.
- Entry points: Check where cables can enter from above, below, behind or through the sides.
- Bend radius: Allow enough room for cables to turn without sharp bends or excessive pressure.
- Separation: Plan the routing of data and power cables so the installation remains orderly and serviceable.
Labelling should be part of the design from the beginning. A cabinet that leaves room to identify ports, panels and cable routes will be easier to manage as the network grows. For the wider connection infrastructure around the cabinet, read RADA Networks’ structured cabling guide.
Consider access, security and physical protection
Decide who needs access to the equipment and how frequently maintenance will be carried out. Lockable doors and side panels can help restrict casual access to active network hardware, while removable or accessible panels may make installation and servicing more convenient.
Think about the cabinet’s location and the level of physical protection needed there. An enclosure in a controlled communications room may have different requirements from one positioned in a shared office, retail environment or publicly accessible area. Door design, panel access and the ability to secure the cabinet should match the surroundings.
Also check that the doors can open far enough for installation and servicing. A cabinet may have suitable internal dimensions but still be inconvenient if technicians cannot reach the front and rear of the equipment comfortably.
Allow for power and supporting accessories
Power planning should be completed alongside cabinet selection. Identify where power distribution equipment will be mounted, how many connections are required and where power leads will be routed. Keep power arrangements accessible without allowing cables to interfere with network connections or airflow.
You may also need shelves, blanking panels, cage nuts, mounting hardware, brush panels or additional cable managers, depending on the equipment mix. These accessories can influence the usable space inside the cabinet, so include them in your initial layout rather than treating them as an afterthought.
If the cabinet will support equipment beyond basic switching and patching, review the complete installation with a qualified professional where appropriate. The cabinet, power arrangement and building environment should work together as one practical system.
Build in room for future expansion
Network requirements often change as organisations add users, devices, wireless access points, security systems or new connectivity services. A cabinet that is completely full on day one can make even a minor change disruptive. Reserve sensible capacity for additional equipment, patching and cable routes.
Future planning does not mean choosing the largest possible cabinet. Instead, estimate likely growth over the cabinet’s useful service period and balance spare rack space against the available room, installation cost and access requirements. A clear equipment schedule and simple rack layout can help you make this decision objectively.
For more guidance on planning an adaptable infrastructure, explore RADA Networks’ future-ready network infrastructure essentials.
Use this network cabinet buying checklist
- List all current rack-mounted equipment and accessories.
- Calculate the required rack height and add realistic spare capacity.
- Measure equipment depth, rear connections and cable bend space.
- Confirm the cabinet’s external dimensions and access route.
- Choose wall-mounted or floor-standing installation based on weight, size and service access.
- Review ventilation, room conditions and equipment airflow direction.
- Plan cable entry, patching, labelling and separation of power and data routes.
- Check door, side-panel and lock access requirements.
- Include power distribution and required rack accessories in the layout.
- Allow for realistic future expansion without over-sizing the installation.
Make the selection with the complete installation in mind
A network cabinet should be viewed as the framework for the entire network installation. Size, depth, airflow, physical access, cable management and expansion capacity all affect how effectively the equipment can be installed and maintained. Comparing these factors together is more reliable than choosing an enclosure based on price or appearance alone.
RADA Networks supplies server cabinets, network cabinets and rack infrastructure for customers internationally. Explore RADA Networks’ cabinet and datacenter solutions or contact the team to discuss the requirements of your installation.
One thought on “Network Cabinet Buying Guide: How to Choose the Right One”