



Blog
How to Match a Network Cabinet to Your Equipment and Room

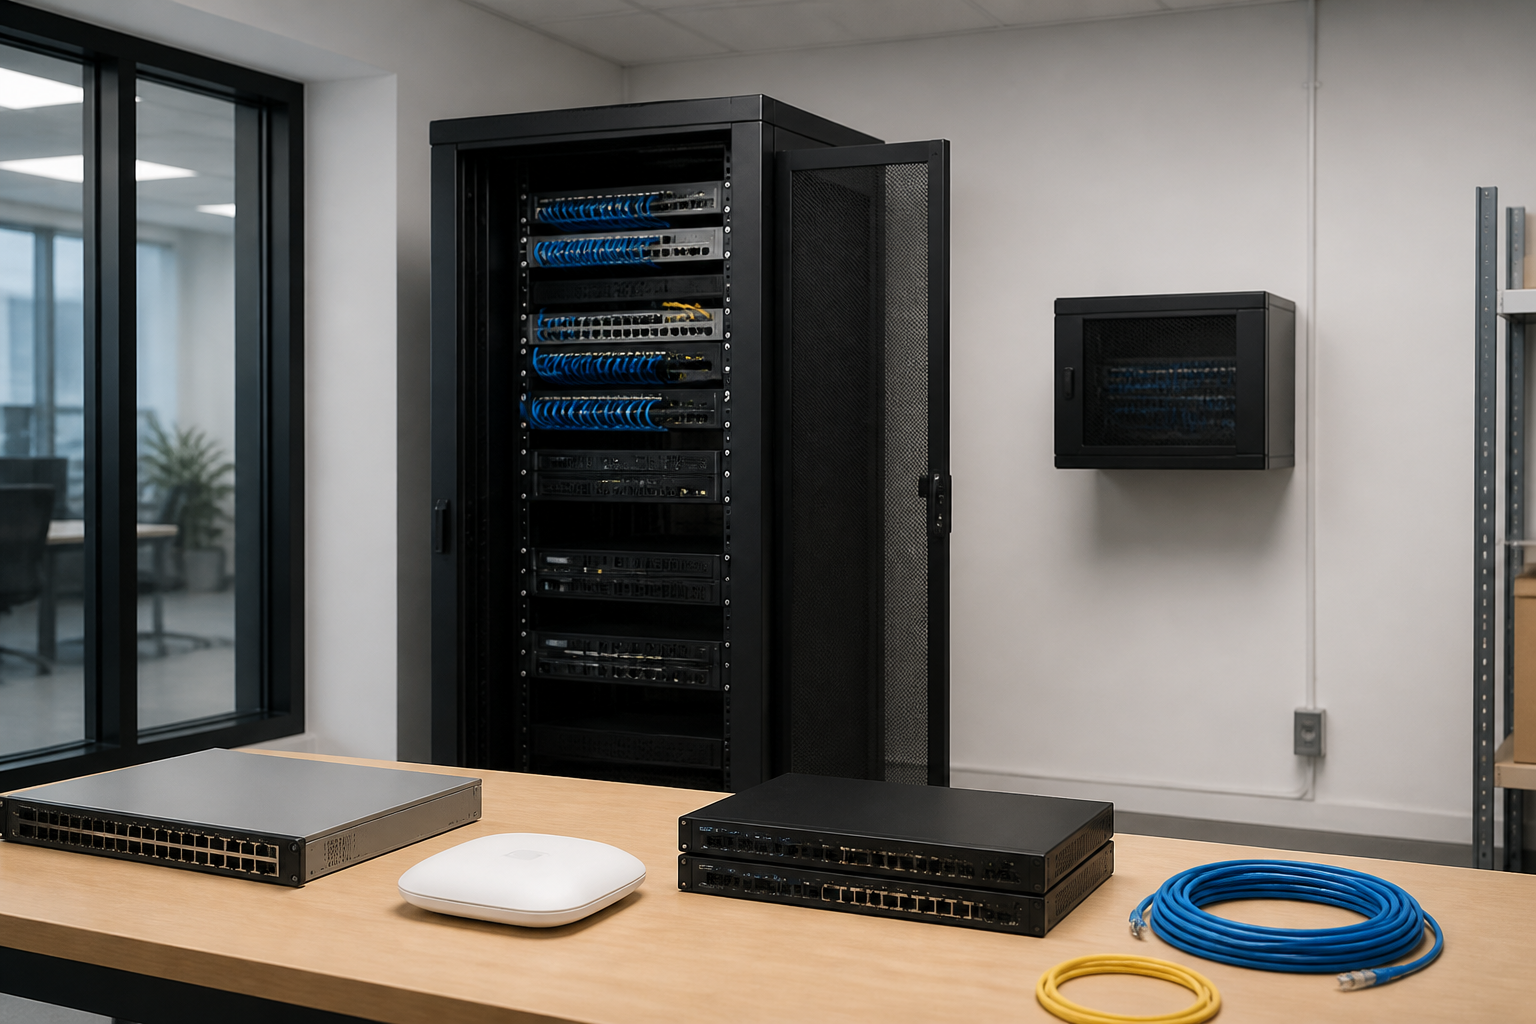
Choosing a network cabinet is not only a matter of finding an enclosure that fits today’s switch or patch panel. The right solution should support your equipment, cabling, power distribution, airflow, access requirements and likely expansion. By assessing size, type and configuration together, you can create a cleaner installation that is easier to maintain and better prepared for future changes.
Start with the equipment and the available space
Before comparing cabinet designs, make a list of the equipment that will be installed. Include switches, patch panels, routers, firewalls, servers, cable management accessories, power distribution units and any shelves or blanking panels that may be required. Equipment that is not mounted directly in the rack may still need space nearby or influence the cabinet layout.
Measure the installation area carefully. Check the available width, height and depth, but also consider doors, corridors, ceiling height, floor strength and access around the cabinet. A cabinet can fit within a room while still being difficult to move, open or service. Leave practical working space around access panels and cable entry points wherever possible.
For a broader comparison of installation environments, see which network cabinet setup fits your space.
Choose the right rack capacity
Rack-mounted equipment is commonly measured in rack units, or U. One rack unit represents a standard vertical mounting increment. Add together the rack units required by your current equipment, then allow room for cable management, power distribution, ventilation and future additions.
Do not size the cabinet to the millimetre
A cabinet that is completely full can be difficult to work on and leaves little room for changes. Extra capacity can make it easier to add a switch, reorganise patch leads or replace equipment without rebuilding the installation. The amount of spare space you need depends on how quickly the network may grow and how frequently equipment is changed.
Also remember that rack units describe vertical capacity only. A cabinet with enough height may still be unsuitable if its usable depth is too short or if cable connections require additional clearance behind the equipment.
Allow for non-rack-mounted items
Some network components may need a shelf or another mounting method rather than direct rack mounting. This can affect both the internal layout and the available depth. Accessories such as horizontal cable managers, vertical cable managers, shelves and brush panels can occupy space or require room around the equipment.
Make a simple layout before ordering. Place the heaviest equipment low in the cabinet where practical, group related components together and reserve accessible positions for equipment that may need regular attention.
Check cabinet depth and usable internal dimensions
Depth is one of the most important selection details because equipment dimensions do not always show the full space needed for installation. Consider the depth of the chassis, rear connectors, power plugs, cable bend radius and any rails or mounting brackets.
A shallow network cabinet may be suitable for patch panels, smaller switches and compact communication equipment. Deeper equipment or mixed installations may require a deeper enclosure. When comparing options, look for usable mounting depth rather than relying only on the cabinet’s external measurement.
Plan cable routes before making a decision. If cables enter from the rear, they need enough room to be routed without sharp bends or excessive pressure on connectors. If the cabinet will be positioned close to a wall, confirm that rear access and cable entry remain practical.
Choose between wall-mounted, floor-standing and open configurations
The cabinet type should match the scale of the installation, the room layout and the level of physical protection required.
Wall-mounted cabinets
Wall-mounted enclosures can be useful where floor space is limited or where the network installation is concentrated in a small area. They are often considered for offices, communications rooms and edge locations with a relatively compact equipment list.
Before choosing this format, check the wall structure, fixing method and total loaded weight. Include the weight of equipment, power accessories and cabling, not just the empty enclosure. You should also confirm that the door can open fully and that technicians can work safely at the installation height.
Floor-standing cabinets
Floor-standing cabinets generally provide more room for equipment, structured cabling, power distribution and future expansion. They may be more suitable for larger network installations or locations where several equipment categories must be kept together.
Consider how the cabinet will be moved into position and whether the floor can support the installed load. Placement should allow access to the front and rear where possible, especially when equipment requires frequent maintenance or when cables are routed from behind.
Open racks and enclosed cabinets
An open rack can offer straightforward access and visibility, which may be useful in a controlled technical room. An enclosed cabinet provides a more defined barrier around the equipment and can help organise the installation in areas where access, dust or appearance is a concern.
The choice should reflect the environment and operating requirements rather than appearance alone. Consider who can enter the room, how much protection the equipment needs and how easily the installation must be inspected or serviced.
Plan airflow and thermal management
Network equipment produces heat, and the cabinet configuration should support the intended airflow path. Avoid blocking ventilation openings with poorly positioned cable bundles, shelves or blanking panels. Keep equipment layouts orderly so that air can move through the cabinet as intended.
For a higher-density installation, assess the room’s ventilation and cooling arrangements as well as the cabinet itself. The enclosure cannot compensate for an unsuitable room environment. Equipment manufacturers’ installation instructions should also be checked for clearance and orientation requirements.
Blanking panels, cable management and sensible spacing can help maintain a cleaner airflow path, but every installation should be evaluated according to its equipment and surroundings. If the network is expected to expand, consider how additional devices could affect heat output and airflow.
Configure power and cable management at the same time
A cabinet is easier to operate when power and data cabling are planned as part of the initial design. Decide where power distribution equipment will be positioned and how power cables will be separated from data cables. Keep patch leads long enough for service access but avoid excessive slack that obstructs equipment or airflow.
Vertical and horizontal cable management can support different installation layouts. Vertical management may be useful for larger cable volumes or side routing, while horizontal accessories can organise connections between adjacent patch panels and switches. Choose a configuration that supports clear labelling, tracing and future changes.
It is also worth considering the direction of cable entry. Top, bottom, rear and side entry points may suit different rooms and pathways. The best choice depends on whether cables run through a raised floor, ceiling route, wall pathway or another infrastructure arrangement.
For more detail on planning the enclosure and its accessories, read the network cabinet buying guide.
Consider access, security and maintenance
Think about how technicians will install, inspect and replace equipment. Removable or lockable doors, removable side panels and rear access can affect the time required for routine work. If the cabinet is installed in a shared area, physical access controls may be an important consideration.
Do not overlook documentation. Leave enough room to label patch panels, switches and cable routes clearly. A well-organised cabinet makes fault-finding easier and reduces the risk of disconnecting the wrong connection during maintenance.
Build a practical configuration checklist
Before selecting a cabinet, confirm the following:
- The total rack-unit requirement for current equipment.
- Additional capacity for planned expansion and accessories.
- Usable internal depth, including connectors, rails and cable clearance.
- Whether a wall-mounted or floor-standing format suits the location.
- How doors, panels and rear access will affect maintenance.
- The intended airflow path and the room’s cooling conditions.
- Power distribution, cable entry and separation of power and data routes.
- The required cable management and labelling approach.
- Floor or wall loading, delivery access and final positioning.
Reviewing these points before purchase helps prevent common problems such as insufficient depth, crowded cable routes or a cabinet that cannot be expanded without replacement. If you are comparing a cabinet with other enclosure formats, this guide to choosing a rack cabinet or another enclosure can help clarify the options.
Choose a network cabinet that supports the whole installation
The most suitable network cabinet balances equipment capacity, physical space, access, airflow, power and future requirements. Start with an accurate equipment list and room assessment, then use the results to compare cabinet dimensions and configurations. This approach is more reliable than choosing by height or appearance alone.
RADA Networks provides server cabinets, network cabinets and rack infrastructure for installations in different environments. Explore the available solutions at RADA Networks to plan a cabinet configuration that matches your equipment and space.