



Blog
Finding the Best 19 Inch Rack for Your Equipment

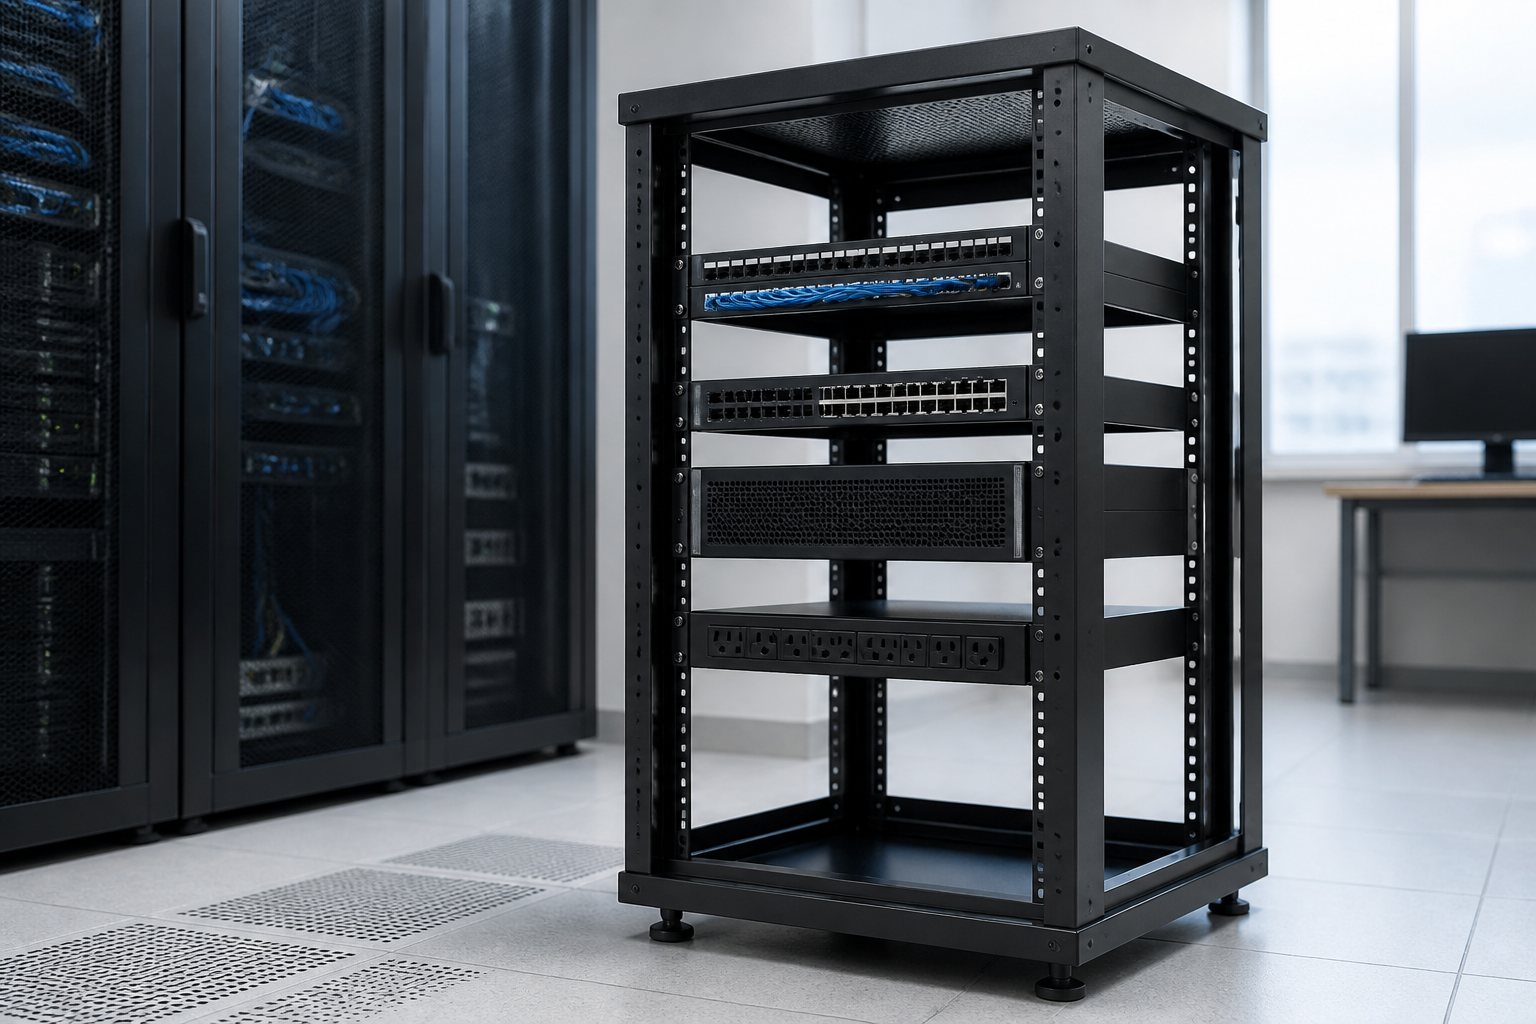
Choosing a 19 inch rack involves more than matching a cabinet to the width of your equipment. The right solution must also accommodate rack height, equipment depth, cable routing, airflow, access requirements, room conditions and possible future expansion. A careful selection process helps create a cleaner installation and avoids replacing an enclosure when your system grows.
This guide explains the main decisions involved in selecting a rack for servers, switches, patch panels, power equipment and related infrastructure.
How to choose the right 19 inch rack
Start by creating a simple list of everything the rack may need to contain. Include active equipment, patch panels, power distribution equipment, shelves, cable managers and any accessories that will occupy rack space. Then consider how the equipment will be installed and maintained.
It is useful to separate the decision into four questions:
- How much equipment must fit? This determines rack height and usable capacity.
- How deep is the equipment? This affects cabinet depth and rear clearance.
- Where will the rack be installed? The room, wall strength, floor area and access around the enclosure all matter.
- What environment does the equipment require? This influences the choice between an open frame, a wall-mounted enclosure or an enclosed cabinet.
For a more detailed calculation of equipment space and cable allowance, see our guide to sizing a 19 inch rack for servers, switches and cables.
Choosing the correct rack size
Rack width and mounting compatibility
The 19-inch designation refers to the standard mounting width used for compatible rack equipment. It does not necessarily describe the cabinet’s external width. The complete enclosure will be wider because it needs side structures, doors, panels and other construction elements.
Before ordering, check that each device has suitable rack mounting provisions or determine whether a shelf, tray or other support will be needed. Non-rack-mount equipment can affect both the space calculation and the internal layout.
Rack height and usable capacity
Rack height is commonly expressed in rack units, or U. One rack unit is a standard vertical increment used to describe the space occupied by rack equipment. Add together the height of the devices you plan to install, then allow additional room for cable management, power equipment and installation flexibility.
A rack that is completely full can be difficult to work on and may leave no practical space for future additions. A modest amount of spare capacity can make upgrades and maintenance easier, particularly when equipment is likely to change over time.
When calculating capacity, remember that accessories also consume usable space. Vertical cable managers, shelves, blanking panels, patch panels and power distribution equipment should be included in the plan rather than treated as afterthoughts.
Rack depth and rear clearance
Depth is one of the most important measurements when selecting a cabinet. Measure the deepest equipment, not only the chassis itself. Allow room for power connectors, data cables, airflow paths, cable bends and access behind the equipment.
Adjustable mounting rails can make installation more flexible, but they do not replace the need to check the actual equipment dimensions. If a device is close to the available depth limit, confirm the cabinet’s usable mounting depth and the amount of clearance available at the front and rear.
Selecting the right rack type
Floor-standing server cabinets
A floor-standing cabinet is generally suited to installations with several rack-mounted devices, heavier equipment or a need for structured front-to-back organisation. It can provide a central location for servers, network hardware, power equipment and cable management.
Consider the cabinet’s position before choosing one. Leave enough room to open doors, remove side panels where applicable and work safely at the front and rear. The route into the building should also be checked, including doorways, lifts and the final installation area.
Network cabinets for compact installations
A network cabinet can be a practical choice where the main equipment consists of switches, patch panels, routers, security devices and other comparatively compact hardware. These cabinets may be appropriate for communications rooms, offices and distributed network points, provided their capacity and depth match the equipment.
Wall-mounted solutions can save floor space, but the wall and fixing method must be suitable for the finished load. Plan how technicians will access the front, rear and cable connections before installation.
Open-frame racks
An open-frame rack can offer convenient access and straightforward equipment installation where physical protection, noise control and dust management are not the primary concerns. It may suit controlled technical areas with adequate room around the equipment.
For offices, shared areas or locations where equipment needs protection from accidental contact, an enclosed cabinet is usually the more appropriate direction to investigate. The choice should reflect the environment rather than relying on the rack format alone.
If you are comparing a cabinet with other enclosure styles, 19 inch rack and enclosure options explained can help clarify the differences.
Configuration features that affect the decision
Doors, panels and access
Choose an access arrangement that supports the way the equipment will be used. Front access is important for installation and routine changes, while rear access is valuable for cabling, power connections and maintenance. Removable or accessible side panels may also simplify work on equipment and internal cable routes.
Door style can affect both access and airflow. Consider the available clearance in front of the cabinet and whether the door could obstruct nearby equipment or walkways when open.
Airflow and thermal planning
Active equipment produces heat, so airflow should be considered before the rack is populated. Identify the intended direction of air movement through each device and avoid blocking ventilation openings with cables or poorly placed accessories.
Keep the installation layout orderly and consider how blanking panels, cable management and cabinet doors may influence air movement. The correct approach depends on the equipment, room and operating conditions, so follow the equipment manufacturers’ installation guidance.
Cable management
Good cable management improves visibility and makes future changes less disruptive. Plan separate routes where practical for data cables, power leads and connections that need regular access. Allow enough bend radius at patch panels and equipment ports, especially when a cabinet will contain a high number of connections.
Do not use every available space for equipment without reserving a route for cables. A cabinet may have adequate rack height but still be difficult to maintain if its cable paths are overcrowded.
Power and grounding considerations
Review how equipment will receive power and where power distribution components will be positioned. Check connection locations, lead lengths and access to power outlets before finalising the layout. The cabinet and installation should also be considered as part of the site’s wider grounding and electrical arrangements, following applicable local requirements and qualified guidance.
Plan for installation and future changes
The best rack choice is not always the smallest one that fits today’s equipment. Think about planned expansion, equipment replacement and the possibility of adding patching or power accessories later. At the same time, avoid selecting an unnecessarily large cabinet if space, handling or room layout makes it impractical.
Prepare a basic rack elevation before purchasing. List each item from top to bottom, mark the space reserved for accessories and identify where cables will enter and leave the cabinet. This simple drawing can reveal conflicts between equipment depth, door clearance, power leads and service access.
For a broader checklist covering cabinet type, installation location and equipment planning, review the server cabinet selection guide.
A practical 19 inch rack selection checklist
- List all current rack-mounted and non-rack-mounted equipment.
- Measure equipment height, width and depth, including connectors where relevant.
- Calculate required rack units and allow sensible room for additions.
- Confirm the cabinet’s usable mounting depth and rail adjustment range.
- Choose floor-standing, wall-mounted or open-frame construction based on the installation environment.
- Plan front and rear access, door clearance and maintenance space.
- Review airflow, cable routing and power distribution before populating the rack.
- Check delivery access, installation method and the building’s floor or wall suitability.
Choose a rack that supports the whole installation
A well-selected rack should support the equipment, the people maintaining it and the future needs of the site. Focusing on dimensions alone can lead to problems with access, heat, cables or expansion. By assessing size, rack type and configuration together, you can create a more practical and manageable infrastructure layout.
RADA Networks supplies rack infrastructure for server and network installations. Contact RADA Networks to discuss the enclosure approach that best matches your equipment, space and configuration requirements.
One thought on “Finding the Best 19 Inch Rack for Your Equipment”